
Creative Tips for Keeping Kids’ Art Organized and Clutter-Free
Children’s artwork is a wonderful expression of their creativity and imagination. From colorful drawings to crafty projects, these pieces often hold sentimental value for parents. However, without a system in place, kids’ art can quickly accumulate into piles and clutter, making it hard to appreciate and enjoy. Organizing your child’s artwork in a manageable, accessible way can both preserve memories and keep your home neat.
In this post, we’ll explore practical tips for organizing kids’ art, using tools and techniques that work for busy families. Whether you want to save every piece or selectively display masterpieces, there’s an approach for you.
Why Organize Kids’ Art?
Before diving into solutions, it’s helpful to understand why organizing art is beneficial:
– Preserves memories: Art represents moments in your child’s development and creativity.
– Reduces clutter: Proper storage keeps your home tidy and prevents overwhelming piles.
– Boosts confidence: Displaying artwork shows your child you value their efforts.
– Encourages creativity: An organized space invites kids to create more freely.
Tips for Organizing Kids’ Artwork
1. Set Up an Art Station or Display Area
Designate a specific area in your home where kids can create and showcase their work.
– Use a corkboard or magnetic board to pin recent pieces.
– Rotate art regularly to keep the display fresh.
– Encourage children to choose which pieces to show.
2. Create a Filing System
For artwork you want to keep long-term, a filing system is very effective.
– Use large folders or accordion files labeled by child and year.
– Store flat pieces to avoid damage.
– Consider clear plastic sleeves for protection and easy viewing.
3. Digitize Artwork
Digitizing is a popular way to manage large volumes of art without needing physical space.
– Take photos or scan drawings and paintings.
– Use apps designed to organize and store kids’ artwork digitally.
– Create digital albums or slideshows to share with family.
4. Make Art Books
Compile scanned or photographed artwork into printed books.
– Many online services offer easy photo book creation.
– Books take up less space and make wonderful keepsakes.
– Include dates, titles, and notes about each piece to add context.
5. Use Storage Boxes or Bins
When you prefer keeping original art, use storage boxes or bins.
– Choose sturdy, labeled boxes for each child.
– Sort art by year or theme.
– Store in a dry, cool place to preserve condition.
6. Repurpose Art Creatively
Find fun ways to reuse artwork rather than just storing it.
– Turn drawings into greeting cards or gift wrap.
– Use fabric markers to transfer designs onto tote bags or t-shirts.
– Create collages or scrapbooks with cutouts from multiple pieces.
7. Establish Guidelines and Limits
To control the amount of art saved, work with your child on setting limits.
– Decide on a maximum number of pieces to keep per month or year.
– Have regular “art review” sessions to choose favorites.
– Teach kids that it’s okay to let go of some work to make space for new creations.
8. Keep Supplies Organized Too
A tidy art supply station helps your child stay focused and creates less mess.
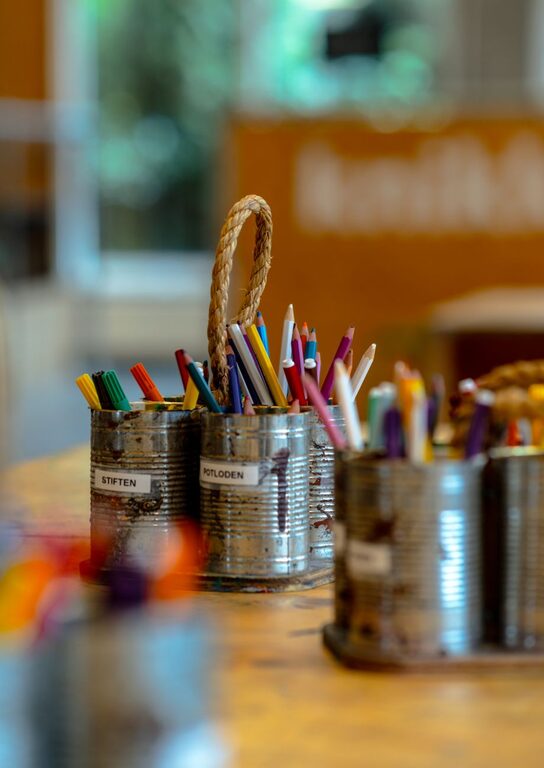
– Use containers for crayons, markers, scissors, and glue.
– Label storage clearly for easy access.
– Clean up together after art sessions to build good habits.
Additional Tips for Success
– Involve your child: Let them help organize and choose what to keep or display.
– Be consistent: Regularly update your storage and rotation systems.
– Celebrate creativity: Make displaying and preserving artwork a fun activity.
– Adapt to your space: Use methods that fit your home size and lifestyle.
Conclusion
Organizing kids’ artwork doesn’t have to be overwhelming. By setting up simple systems and involving your children, you can enjoy their creativity without the clutter. Whether you prefer physical storage, digital archives, or creative reuse, these tips will help you keep precious memories safe and your space tidy.
Happy organizing!
